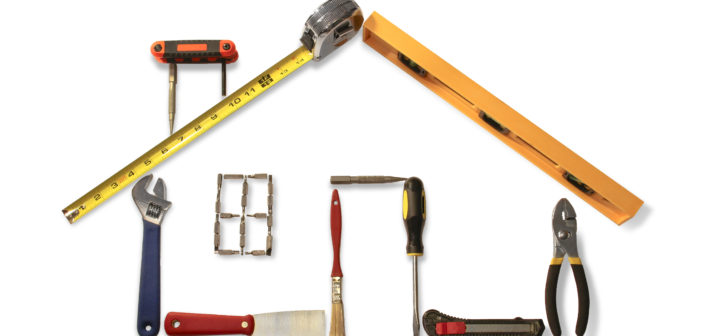
DIY projects can add value to your home. “As a homeowner, it’s wise to keep track of all the remodels and home repairs that you do because they will provide the best return on investment in the future,” said Septic Solutions, Inc. Try out these four DIYs and discover your artistic side; all you need is a little imagination.
-
Introduce color in a dull looking room
Flower vases and indoor plants:
Color makes the first impression; you perceive the room differently, each moment you spot a different color. Incorporating potted plants in your interiors brings the serenity of the outdoors right where you are. Indoor plants are also perfect for refreshing the air in the room. Adding DIY cutouts and simple projects is an excellent way to introduce color into your living room and spark some interest in some dull corners.
Decorative wall paint:
Fading or peeling wall surfaces, dump air, cracks on the wall and contrasting surfaces are all pointers of an ideal time for repainting. Acrylic paints are the best, as they produce a waterproof finish that’s durable. Metallic paints mimic the natural surfaces of gold, copper, and silver. They are best for creating an attractive focal point.
For your painting DIY, you will need:
- Paint roller
- A can of paint
- A can of primer
- Sandpaper
- Filler
- A large plain cloth
Before you start, move furniture to the center of the room and cover them and every surface with the cloth, then brush off any peeling paint. Fill out the gaps with filler and sand even, and then apply a layer of primer, evenly across the wall surface. Allow drying for about 45 minutes. Next, dilute the paint, as per instructions, pour into the tray, soak in the roller and spread gently using an up-down motion at an angle, till you cover the wall evenly. Apply a second layer and leave to dry before rearranging your room.
-
Restore your deck
A deck is only worth a second look if its natural grain stands out and the smooth surfaces look highly polished. Well-maintained decks should be free from dirt, sticky substances, splinters, or a fading finish.
Cleaning the deck:
Once you notice the flaking and dull surfaces, here’s what you’ll need to clean it.
- Protective clothes such as rubber gloves or goggles
- Floor cleaning solutions, or a mixture of detergent and diluted bleach in sprinkle bottle
- Rinsing water
- Scouring pad or brush
Spray the deck and allow the water to soak in the deck before you scrub off with a brush or scouring pad. Rinse off the floor and allow it to dry.
Staining the deck:
To stain the deck, you will need a paint brush, a wood stain, and wood sealer. Fill any holes in the floor using the sealer and apply a thin stain coat. Allow appropriate drying time before applying the second coat.
-
DIY lamp shades
Achieving the right balance of functional, ambient and accent lighting in a room makes you highlight the materials in the room and appreciate them more. For this DIY, you will need:
- Cardboard
- Paper and Wood glue
- Scissors
- Different patterned paper
- Wiring
- Wooden stand
- Bulb
- Electric tape
Cut out an open-end cube, semi-sphere, square, triangle or other interesting shapes and glue the joints together. Attach the cutout shade to the wooden stand using wood glue, and hold it in place while it dries. Fix the wiring away from view, using the electric tape, at the right height for attaching your light bulb, and plug in the socket.
Stick your brightly colored paper on the outer faces to hide out any joints on the cardboard and Voila! Or you can try assembling simple lamp shapes using the cardboard, varnish them and hang them around for a beautiful spectacle. Don’t limit your imagination.
-
Clean out the ugly grout lines on tiles
Every day, floor tiles accumulate dirt, grease, detergent spills, and other stains, all which change the floor’s appearance over time. To clean out the dirt lines between tiles, you’ll need a mixture of:
- Warm water
- Cleaning detergent
- Vinegar
Sprinkle the mixture to ease out the dirt and after about 15 minutes, scrub with a hard brush and mop clean to restore a sparkle on your tile surface.
Whether you intend to put your house on the market some years down the line, or sooner, performing these simple DIY projects can be a worthy investment.


